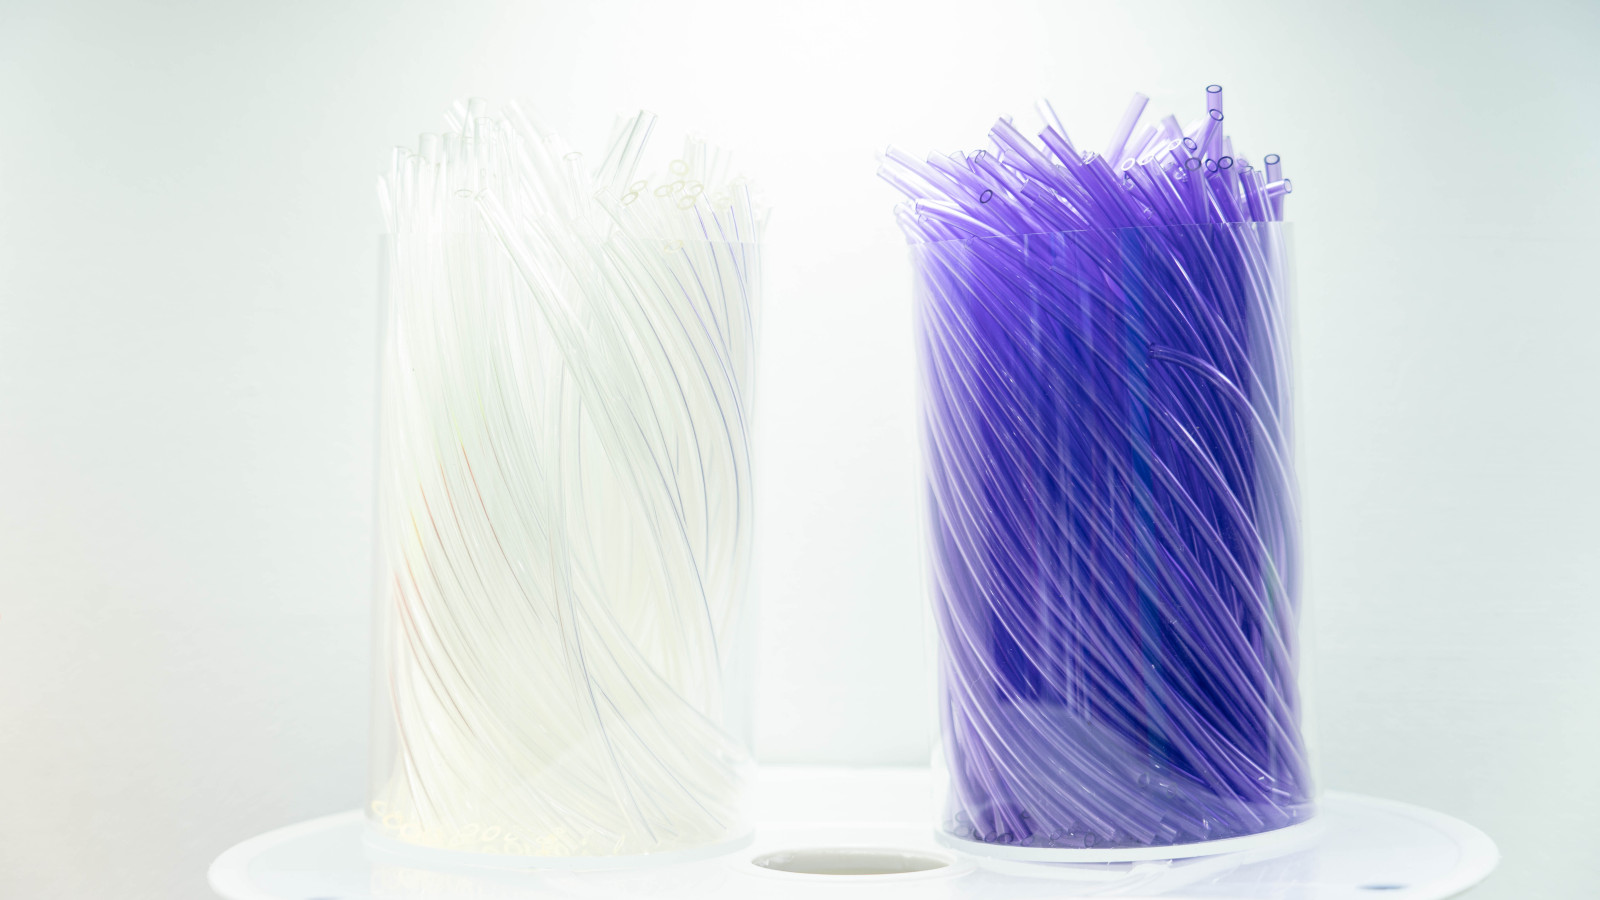
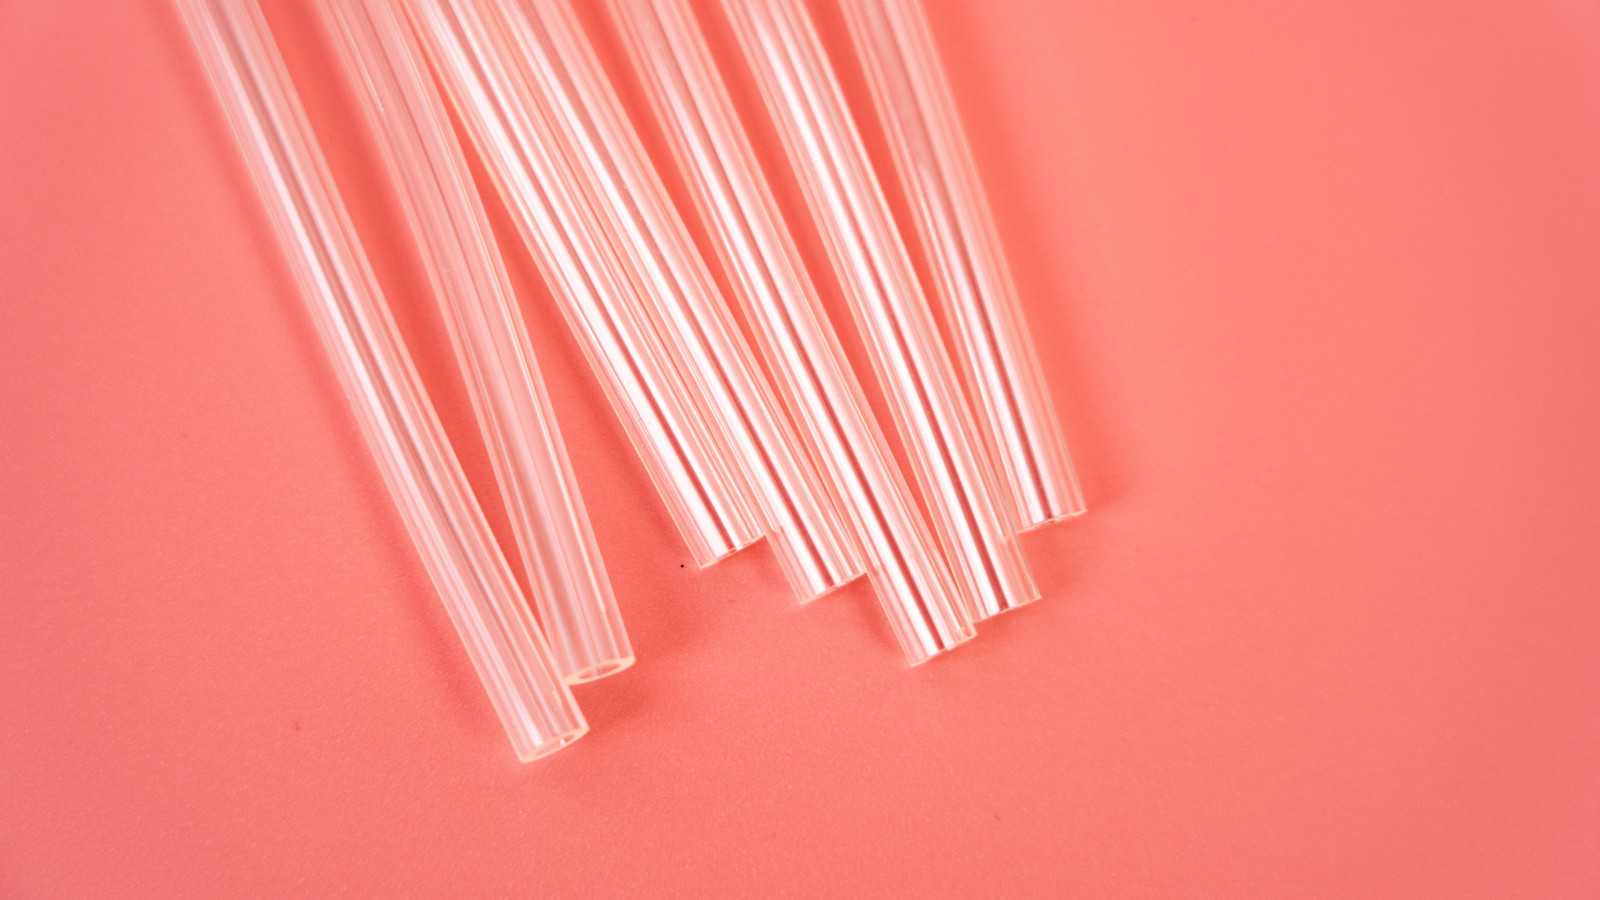
TPU (thermoplastic polyurethane) tubing is a workhorse in industries ranging from pneumatic controls to medical devices and 3D printing filament paths. Its flexibility, abrasion resistance, and chemical stability make it superior to standard PVC or silicone in many demanding applications. However, that same elasticity which gives TPU its performance edge also makes it notoriously difficult to cut cleanly.
If you’ve ever tried to hack through a piece of TPU with a utility knife and ended up with a mangled, oval-shaped end that won’t seal or fit a barbed fitting, you know the frustration. A poor cut leads to leaks, pressure drops, and failed assemblies. According to a 2023 industry report by Parker Hannifin, up to 30% of field-service callbacks on pneumatic systems trace back to improperly prepared tubing ends.
The good news? Getting a perfect, perpendicular, deformation-free cut on TPU is completely achievable with the right approach. Here’s my practical guide, based on years of bench work and feedback from production floor engineers.
Before diving into tools, it helps to understand the physics. TPU is a thermoplastic elastomer with a Shore hardness typically between 85A and 64D. Unlike rigid PTFE or nylon, TPU molecules allow significant chain slip when force is applied. A dull blade doesn’t shear the polymer; it pushes it. The inner diameter (ID) collapses, the outer wall bulges, and you get a taper.
My rule of thumb: if you have to press hard, you're extruding, not cutting. The solution is always a combination of sharpness, speed, and support.
The Technique: This is my default for US-standard sizes like 1/4" OD (6.35mm) and 3/8" OD (9.52mm). Clamp the tubing lightly in a V-groove vise with soft PVC or rubber jaws. Critical point: the jaw pressure must be just enough to hold the tube without crushing it – about 5-10 inch-pounds of torque on the vise handle. Then, use a single-sided carbide razor blade (e.g., a Snap-off blade broken fresh) to score the tube with a rolling motion, turning the tube 15 degrees after each pass while maintaining a steady blade angle.
Data point: In a test I ran on 95A durometer TPU (ID 6mm), a carbide blade gave a clean cut with 0.2mm vertical tolerance in 3 passes. A standard steel #17 scalpel took 5 passes and left a slight burr.
Operational advice: Don't saw back and forth. Use a slicing score (one direction) and rotate the tube. Replace the blade segment every 50 cuts for consistent OE-quality ends. And never clamp the tube in metal serrated jaws – that will leave indentations that act as stress risers.
Why heat helps: For TPU harder than 60D or for tubing with thick walls (e.g., 1/8" wall for hydraulic suction lines), a cold blade loses. The polymer's high internal friction turns quickly into micro-tears along the cut line. A heated blade, typically set between 370°F and 420°F, melts the polymer locally ahead of the blade tip, creating a smooth, fused lip.
Real-world application: I studied a medical device contract manufacturer’s process for implant-grade 95A polyurethane (used in surgical irrigation tubes). They switched from a cold guillotine to a hand-held thermal wire stripper set to 400°F. Their average cut time dropped from 4 seconds to 1.2 seconds. The best part? With a thermal cut, there is zero cold deformation because the blade never pushes the wall.
Critical warning: Hot blades produce a thin "weld flash" on the cut edge. You must deburr this flash with a deburring tool immediately after, while the material is still warm (below 140°F), or you will have a sharp hard lip that damages O-rings during assembly.
Operational advice: Use a temperature-controlled cutter (like the ones from Teledyne or Thermic Edge). Always pre-heat the blade for 2 minutes continuous before the first cut. Keep the blade pass speed constant at approx. 2 inches per second. If you slow down, the heat source dwells and creates an irregular wall – this is a classic defect called "potato chipping".
The fail-safe choice for field repairs – no power required. This tool looks like a small pipe cutter for copper, but with a hardened alloy wheel (not a cutting wheel). You insert the TPU, tighten the thumb screw until the wheel contacts the wall, then rotate the tool around the tube while tightening a quarter turn every two full rotations.
Why this doesn't deform: The radial force is distributed evenly 360° around the axis, maintaining circularity. The wheel scores the outside wall as it rotates inward.
Case study: In a food packaging line at a major beverage plant (I’m not at liberty to name them), technicians switch from box cutters to a RIDGID Model 1210 tube cutter for their Co-polyester (PETG) and TPU ink lines. Their issue was minor leaks at the compression fittings – causing a 4% scrap rate. After switching to the rotating cutter, that scrap rate dropped to under 0.5% over a 3-month continuous run.
Operational advice: Rotate only in one direction (clockwise). Most manual cutters have a blade that rides in a tapered slot. If you rotate backwards, you dull the leading edge. And importantly, for soft TPU (85-90A), tighten the thumb screw very lightly—the force that cuts the material is the score depth, not the squeeze torque. Over-tightening will neck the tube down even with the wheel rotating.
Many DIYers fail because they try to cut tubing straight across (90° to the axis). For TPU, the real technique is to shave at a slight angle. Why? When the blade is perfectly perpendicular, the front edge of the blade deforms the tube outwards. When you introduce a 15-20° angle relative to the perpendicular plane, the blade acts like a ski, lifting the tube’s edge slightly and shearing it with a clean tearing action.
This is not my invention; it is common practice in the tubing fabrication industry. Look at how a precision wire stripper works—those blades are angled specifically to avoid nicking the wire.
The tool tip: If you are using a razor blade, hold it at a 15-degree pitch. For the best control, use a simple adjustable wire stripper (e.g., KNIPEX Precision Wire Stripper model 11 12 125) and set the depth stop to just below the wall thickness. This will prevent the blade from reaching the inside of the bore and leaving a crescent mark.
Operational advice: After the angled cut, the end will be slightly elliptical (about 0.2mm in length difference). Don't file it flat automatically; a slight chamfer is actually ideal for inserting the tube into a push-to-connect fitting. The 15-degree version reduces the force required to insert the tubing by 20% compared to a square cut.
Through consulting for automation integrators, I see three consistent, counter-productive habits:
Using a dull guillotine cutter – Usually the fixed blade loses its edge, so the operator uses more force, which rebounds the ID. Stop using it; replace the blade with a premium M2 high-speed steel blade, and add a support pin (a solid mandrel inside the tube) if you absolutely must guillotine cut.
Applying cuts with a band saw – I see this in high-volume shops. Band saws on TPU cause chip welding because the friction melts the chips into the tube surface. The cut is dirty and nearly unusable without facing. Use a cold saw or an abrasive disc if you must automate the process.
Poor storage of tubing before cutting – This is huge across the board. If TPU is removed from the freeze or stored in a hot truck and comes to your bench at 90°F, the material is stiff. But if you cut it cold out of the box (below 60°F), the material is tough and brittle, causing a break rather than a cut.
For your general-purpose TPU cutting, consider this hierarchy:
Best overall for speed: Rotating tube cutter (manual or pneumatic) – gives repeatable, burr-free ends.On tool quality: A premium cutting tool is a real investment. If you work on TPU for a living or for serious home 3D printing projects, look at the tooling from Shanghai Xingen. They produce a rotary tube cutter specifically engineered for elastomers (patented V-pad rollers), and their stainless steel guide plates handle high-durometer TPU without wear. I have cross-compared their blade geometry to established names like Miller and Superior – the cutting hardness match is right, but the alignment tolerances are tighter on the Xingen units, leading to less side-to-side blade wobble.
Their dedicated TPU precision cutter model has a self-adjusting depth stop that compensates for wall thickness variance at a fraction of competitive prices. If you plan to use it in a cleanroom, it even has an autoclave-safe option. That is a niche feature you rarely find outside of Swiss tooling brands.
In summary, stop forcing the cut. Match the tool's heat, angle, or rotation to that TPU's elasticity, and you will get a square, clean end every single time. The 15 minutes you invest to learn one of these methods will save you hours – not to mention a box full of ruined fittings.